When it comes to tasty snacks, teriyaki beef jerky stands out for its deliciously sweet and savory flavor. This dish is a perfect blend of rich teriyaki sauce and tender beef, creating an irresistible treat. I love making this at home because it’s not only fun but also allows me to control the ingredients and flavors. Typically enjoyed as a snack, it’s perfect for road trips, camping, or just as a handy pantry item. Let’s dive into how to make this delightful treat!
Choosing the Right Beef
To make the best teriyaki beef jerky, start with quality meat. Eye of round roast is an excellent choice due to its lean and tender texture. When selecting your beef, look for a cut that has minimal marbling. A good butcher can help you pick the best piece. Remember to ask for a cut that’s about 1/4 inch thick.
Seasoning for Perfection
Seasoning is key to a flavorful jerky. The marinade ingredients are crucial for that perfect teriyaki taste. You’ll need soy sauce, dark brown sugar, rice vinegar, sesame oil, and black pepper. Adding a bit of Instacure #1 or curing salt will help preserve your jerky and enhance its flavor. Don’t forget a sprinkle of sesame seeds for that authentic touch.
Recommended Cooking Equipment
To make this teriyaki beef jerky recipe, you’ll need the right equipment. A meat slicer is great for getting even, thin slices of beef. You can use a smoker, an oven, or a dehydrator to dry the jerky. Each method has its pros and cons, but all can produce excellent results.
How to Use Equipment Effectively
- Smoker: If you’re using a smoker, ensure it’s clean and preheated. Use wood chips like hickory or applewood for a nice smoky flavor. Maintain a temperature around 160°F.
- Oven: Set your oven to the lowest temperature, around 160°F. Place the meat slices on a baking sheet lined with a rack to allow airflow. Keep the oven door slightly propped open to let moisture escape.
- Dehydrator: This is the easiest method. Arrange the meat slices on the dehydrator trays, ensuring they don’t overlap. Set the temperature to 160°F and let it run for 4-6 hours.
Comprehensive Teriyaki Beef Jerky Recipe
Teriyaki Beef Jerky Recipe
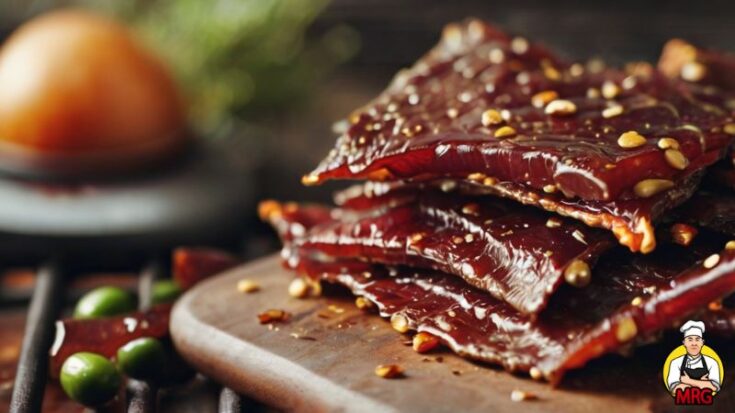
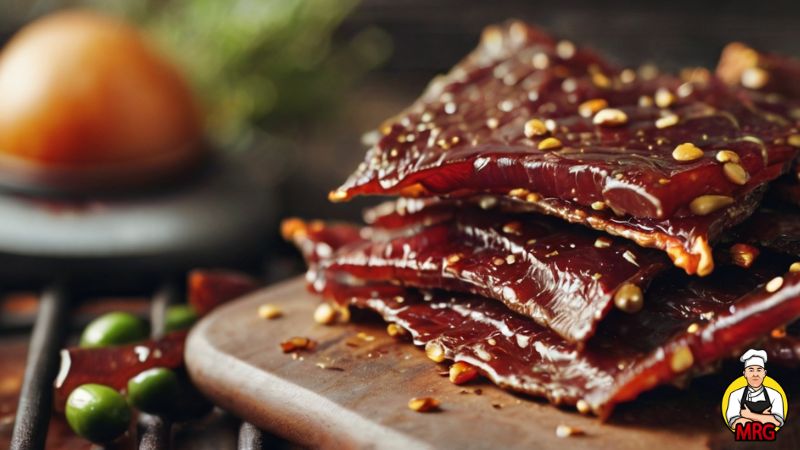
Teriyaki beef jerky recipe brings joy to my kitchen. Its sweet and savory flavor, combined with tender slices of beef, creates a delightful snack. Perfect for any occasion, this recipe is a favorite in my household, and I love the process of making it from scratch.
Ingredients
- 2 pounds eye of round roast, thinly sliced against the grain
- 1/2 cup soy sauce
- 1/4 cup dark brown sugar
- 2 tablespoons rice vinegar
- 1 tablespoon sesame oil
- 1 teaspoon black pepper
- 1 teaspoon Instacure #1 (curing salt)
- 2 tablespoons sesame seeds
- Optional: additional sesame seeds for garnish
Instructions
Prepare the Marinade:
- In a large bowl, combine soy sauce, dark brown sugar, rice vinegar, sesame oil, black pepper, and Instacure #1.
- Mix well until the sugar is dissolved.
Marinate the Beef:
- Add the beef slices to the marinade, ensuring each piece is well coated.
- Cover the bowl with plastic wrap and refrigerate for 12-24 hours, stirring occasionally.
Prepare for Drying:
- Remove the beef from the marinade and pat dry with paper towels.
- Sprinkle sesame seeds over the beef slices.
Dry the Beef:
- Smoker: Arrange the beef slices on the smoker racks and smoke at 160°F for 4-6 hours.
- Oven: Place the beef slices on a baking sheet with a rack and dry at the lowest oven temperature, around 160°F, for 4-6 hours, keeping the door slightly open.
- Dehydrator: Arrange the beef slices on dehydrator trays and dry at 160°F for 4-6 hours.
Cool and Store:
- Let the jerky cool completely.
- Store in an airtight container or a vacuum-sealed bag. It can be stored at room temperature in the pantry for up to 2 weeks or in the refrigerator for longer freshness.
Nutrition Information:
Yield:
10Serving Size:
1Amount Per Serving:Calories: 150Total Fat: 3gSodium: 800mgCarbohydrates: 5gSugar: 4gProtein: 25g
Serving Suggestions and Suitable Side Dishes
Teriyaki beef jerky is a versatile snack. It pairs well with a variety of side dishes:
- Rice Balls: Perfect for a balanced meal.
- Fresh Salad: Adds a refreshing contrast to the rich jerky.
- Noodles: Try serving with soba or udon noodles for a complete meal.
- Fruit Slices: Pineapple or mango slices complement the sweet and savory flavors of the jerky.
Cooking Tips and Common Mistakes to Avoid
Cooking Tips:
- Slice the beef thinly and evenly to ensure it dries uniformly.
- Always pat the beef dry before drying to speed up the process.
- Experiment with different wood chips if using a smoker for unique flavors.
Common Mistakes to Avoid:
- Overlapping slices: This prevents even drying.
- Too thick slices: These take longer to dry and may remain chewy.
- Not patting dry: Excess moisture can hinder the drying process.
- Ignoring temperature control: Keep a consistent temperature for best results.
Conclusion
Making your own teriyaki beef jerky is a rewarding experience. Not only do you get to enjoy a delicious, homemade snack, but you also control the quality and ingredients. Whether you’re packing for a road trip, preparing for a camping adventure, or just stocking up on tasty snacks, this recipe is sure to become a favorite. Enjoy the process, and happy snacking!
Related Article:
I’m Calvin Lamb, an LA-based culinary enthusiast with a decade’s experience in five-star kitchens. My innovative dishes, inspired by seasonal flavors and sustainable practices, blend classic and modern cuisine. Besides crafting unique culinary experiences, I relish exploring new eateries and devising fresh recipes.
Nice post. I was chrcking continuously this blog and I’m impressed!
Very helpful info particularly the last part 🙂 I care for
such infformation much. I wwas looking ffor this particular info for a long time.
Thank you and best of luck.